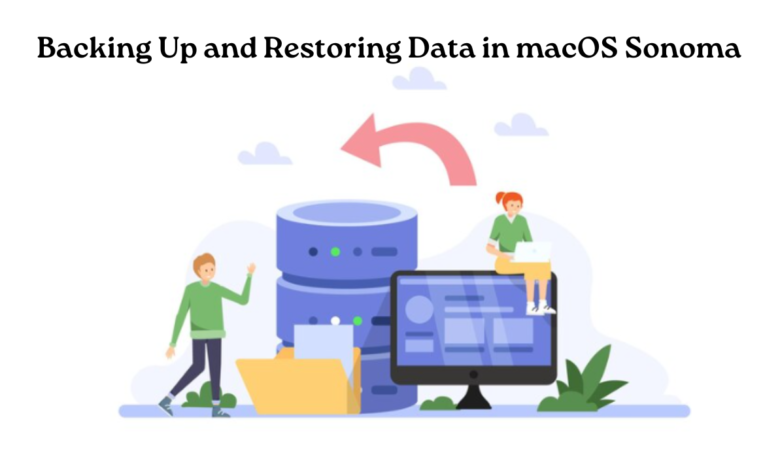
Backing Up and Restoring Data in macOS Sonoma

In an age where digital data reigns supreme, ensuring its safety should be a top priority for any macOS Sonoma user. Whether it’s cherished photos, important documents, or critical work files, the potential loss of data can be catastrophic. That’s why mastering the art of data backup and restoration in macOS Sonoma is not just recommended; it’s essential.
1. Understanding Backup Methods:
macOS Sonoma offers a variety of methods for backing up your data, each with its own benefits and considerations. From Time Machine to iCloud Backup and third-party solutions, exploring these options empowers users to choose the best fit for their needs.
2. Setting Up Time Machine:
Time Machine remains a popular choice for macOS users due to its simplicity and effectiveness.
To set up Time Machine, follow these steps:
- Hook up an external hard drive or other storage device to your Mac.
- Open System Preferences and select Time Machine.
- Click on “Select Backup Disk” and select the external storage device.
- Toggle the Time Machine slider to “On.”
- Time Machine will start backing up your data right away.
3. Exploring iCloud Backup:
For users who prefer a cloud-based approach, iCloud Backup offers a convenient solution.
Here’s how to enable iCloud Backup:
- Go to System Preferences and select Apple ID.
- Click iCloud in the sidebar and then select iCloud Backup.
- Click “Back Up Now” to initiate an immediate backup, or enable “Back Up Automatically” for scheduled backups.
4. Utilizing Third-Party Solutions:
In addition to built-in options, macOS Sonoma users can explore third-party backup solutions for added flexibility and features. Research and choose a reputable backup software that aligns with your specific needs and preferences.
5. Efficient Data Restoration:
In the event of data loss or corruption, knowing how to restore your files quickly and efficiently is crucial. macOS Sonoma provides straightforward methods for data restoration:
- Time Machine: Open Time Machine from the System Preferences or Finder, navigate to the desired backup date, and select the files or folders to restore.
- iCloud Backup: After resetting your device, select “Restore from iCloud Backup” during the setup process and follow the on-screen instructions to retrieve your data.
6. Best Practices for Data Security:
Beyond backup and restoration, implementing robust security measures is essential for safeguarding your data in macOS Sonoma.
Enhance your data security with these tips:
- Enable FileVault encryption to protect your files and data from unauthorized access.
- Utilize strong, individualized passwords for your accounts and enable two-factor authentication whenever it’s possible.
- Regularly update your macOS system and applications to patch security vulnerabilities.
Conclusion
Mastering data backup and restoration in macOS Sonoma is essential for ensuring the safety and accessibility of your valuable files. By understanding backup methods, setting up Time Machine or iCloud Backup, and following best practices for data security, users can mitigate the risk of data loss and enjoy peace of mind in their digital endeavors.
For more articles on ensuring data safety on your devices, check www.intogeeks.com


