After installing Windows 11 on VMware or any other virtual machine, you will be required to install its all features including the full screen. Or you might use Windows 11 on Virtual machines as your second daily operating system use. So, in this case, if you want to use Windows 11 inside Virtual machines whether it should be VMware Workstation Pro/Player or VirtualBox. So, you have to install the features, complete, update, and full-screen mode.
However, the installation process of Windows 11 on Virtual machines or VMware Workstation Pro is pretty much easy, firstly you have to install VMware Workstation Pro latest version of Windows 11. And the second thing you need to do is to create a brand new virtual machine for Windows 11 on VMware and insert the Windows 11 ISO image file and continue the installation process.
So, if you don’t know how to install VMware Workstation on your Windows 11 PC, or install Windows 11 inside VMware Workstation Pro on your Windows PC machine, then check out the two below links.
- How to Install Windows 11 on VMware Workstation Pro 17?
- How to Install VMware Workstation Pro 17 on Windows 11
How to Use Windows 11 Full-Screen Mode on VMware Workstation Pro?
This article will guide you step by step with the screenshot method to enter your Windows 11 full-screen mode on VMware Workstation Pro on your Windows PC. The VMware Workstation Pro has built-in tools that allow the features in your Windows, or any other operating systems that you are installing inside the VMware. So, follow the steps.
In the first step simply open up the VMware Workstation Pro, then select the Windows 11 virtual machine and click on Power on this virtual machine. Once the virtual machine is powered on, simply click on VM>Install VMware Tools.

After a few seconds the VMware tools will appear on the desktop and its autorun will appear, simply click on the Autorun installation option.
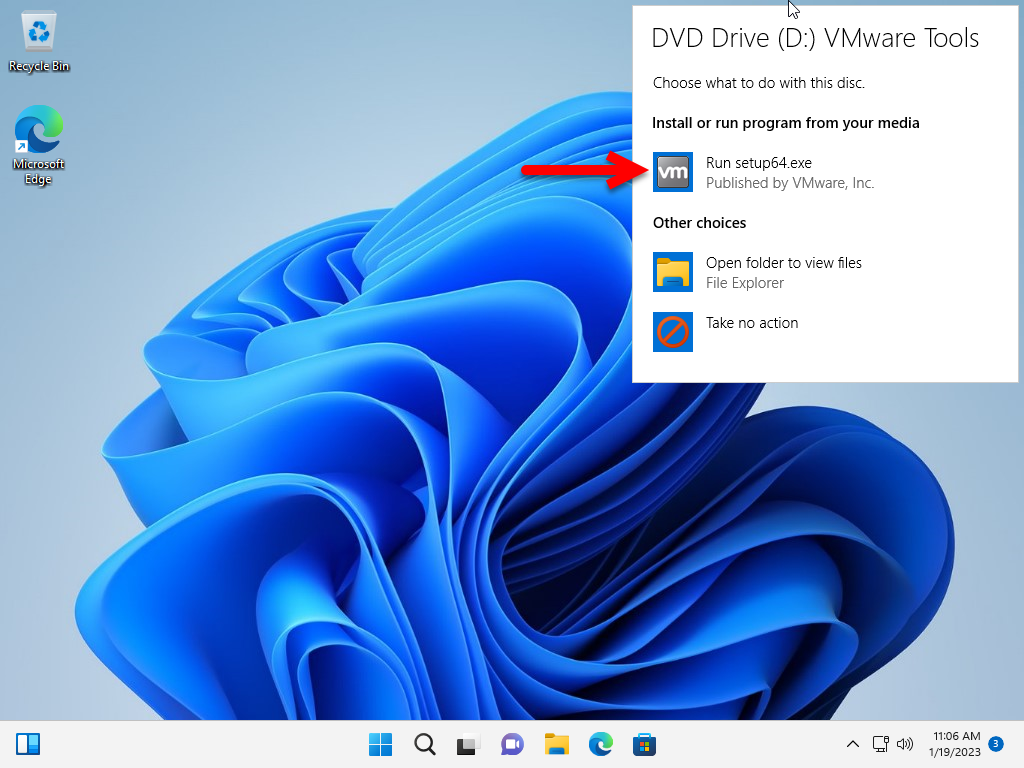
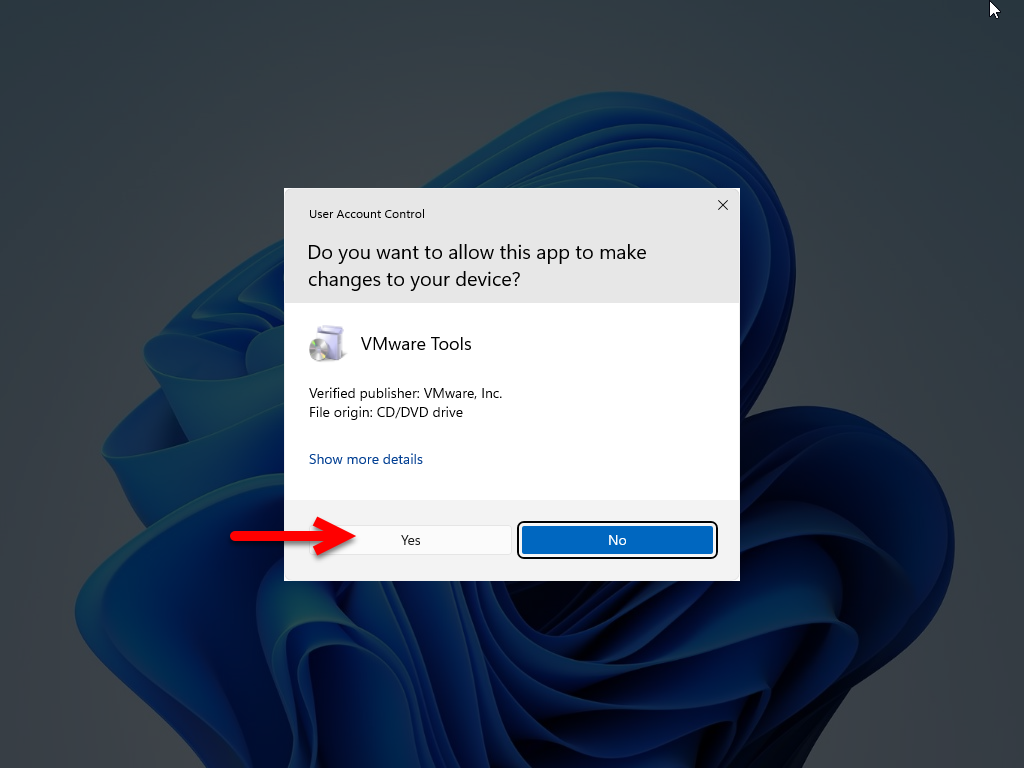
Once you clicked on the installation option, another window will pop up that will ask you permission whether you want to install the VMware tools or not, simply click on the Yes option to proceed.
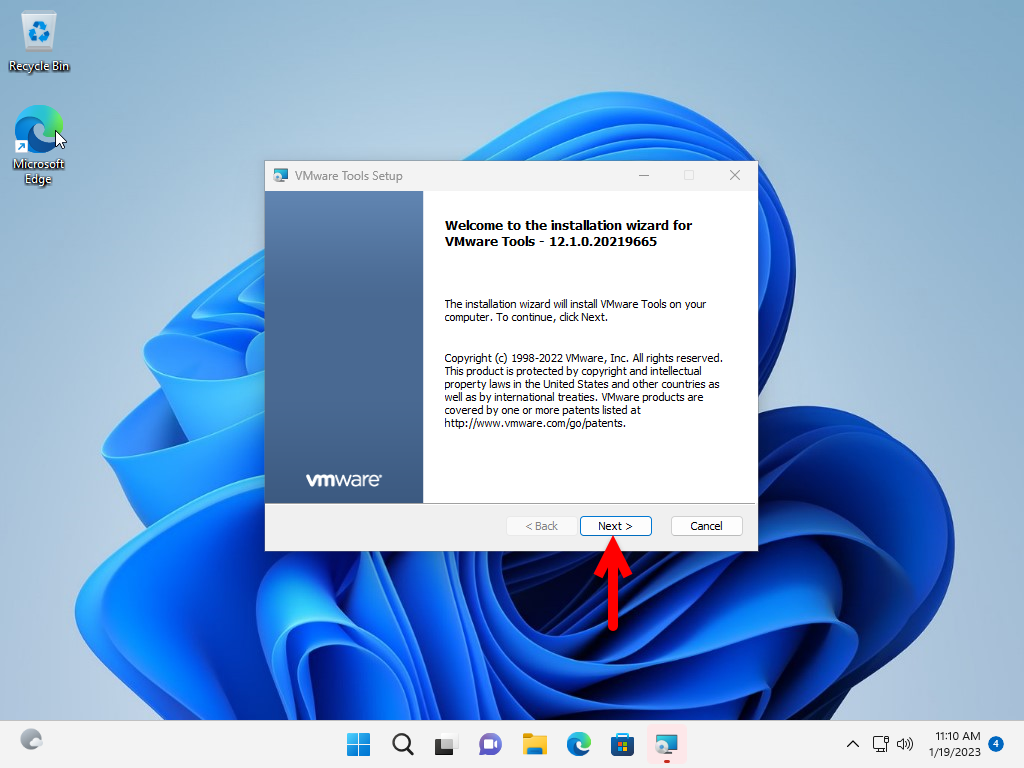
On the welcome wizard of VMware tools simply click on the Next option to proceed.
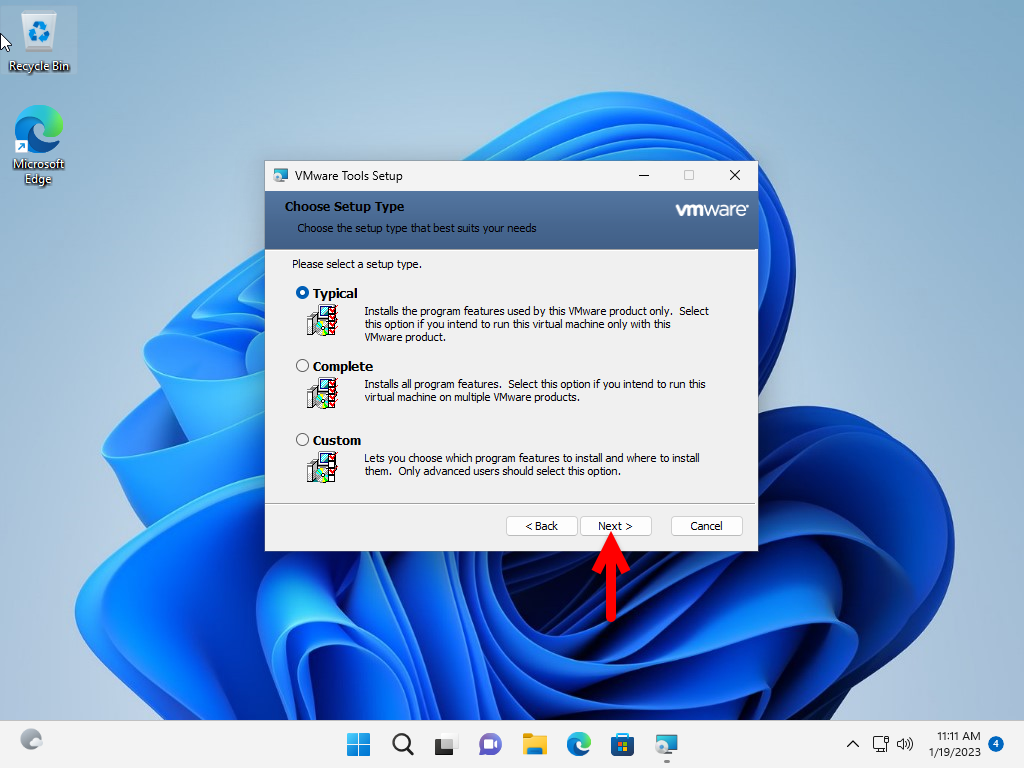
Once you reached the installation method, there you will see three different options simply select the first option and click next.
Now you are ready to install the VMware Tools on Windows 11 on VMware Workstation, so simply click on the Install button.
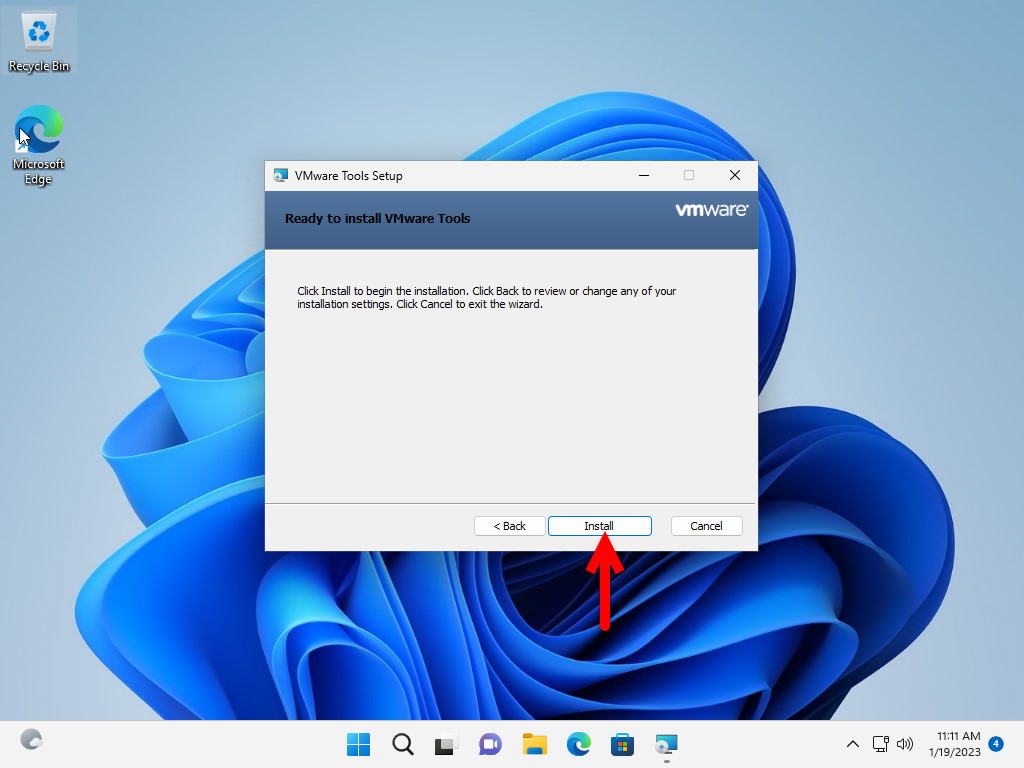
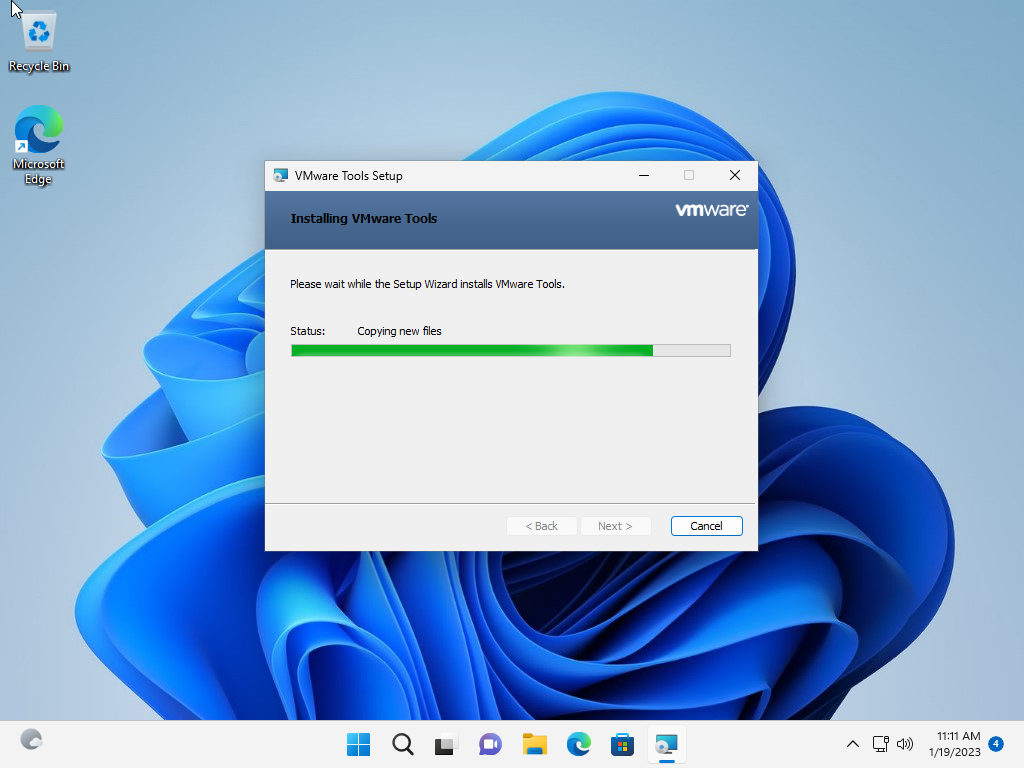
Wait while the VMware Tools should install on VMware Workstation.
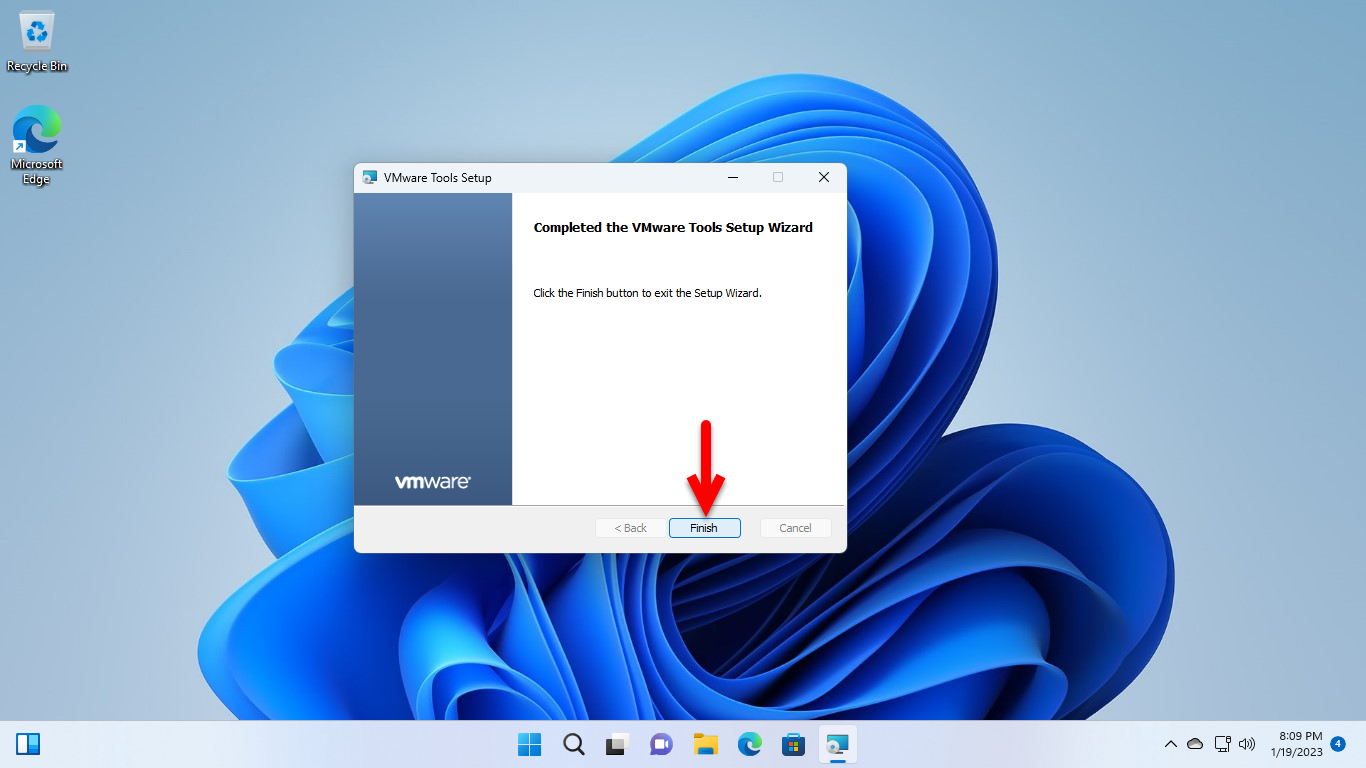
Once the installation of VMware Tools successfully completed simply click on the Finish option.
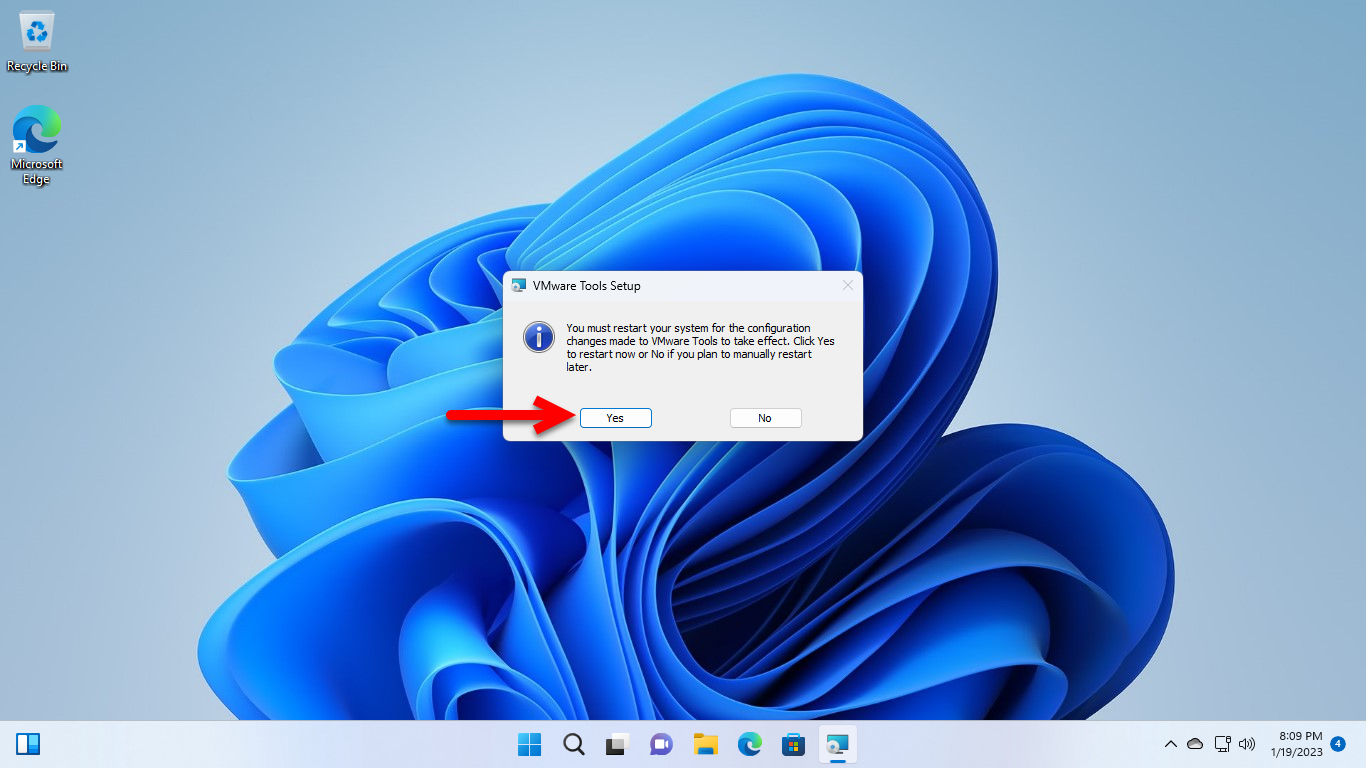
Once the VMware Tools are successfully installed on Windows 11 on VMware Workstation, you will be required to restart the virtual machine to perform the changes in your Windows 11 on VMware.
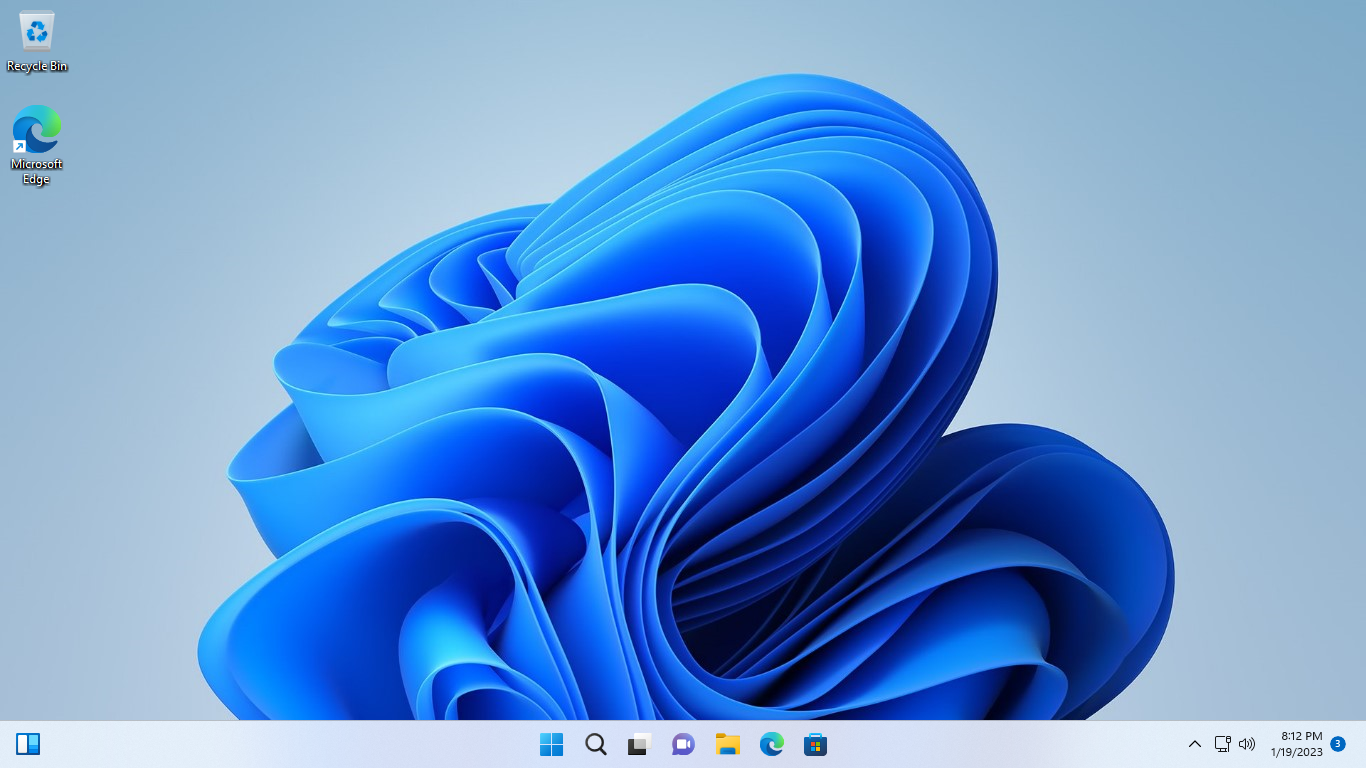
After restarting the virtual machine you will see the changes inside your Windows 11 on VMware Workstation Pro. So, enjoy using the Windows 11 full-screen mode as your actual PC.
Conclusion
Now you can update your Windows 11 on VMware Workstation on your actual Windows PC. Also, you can do lots of things inside the Virtual Machine besides your actual and physical machine. After installing the VMware Tools on Windows 11 on VMware you will be able to get the feature of drag and drop the features of updates, and many more things.

