When it comes to the world of file sharing then Zapya is of the free applications that allow users to transfer files between devices for free without any internet connection. Zapya has become one of the most popular applications on the internet and the most used application in the countries like Myanmar, and Pakistan. So, the Zaypa application is right now available for different devices such as Android, iOS, and Windows PC. Like you can transfer or share files from Android to iOS or from iOS to Android devices. Also, you can transfer files such as pictures, documents, movies, music, and other files from your Android or iOS devices to your Windows PC without any internet connection.
However, through this article, you will learn step by step guide on how to install and set up Zapya on Windows 11 PC. Don’t forget guys that the Zapya Application is available for any Windows version like Windows 10, 8.1, 8, or Windows 7. You can get Zapya on your Windows PC, macOS, Android, and iOS completely free without any cost. The Zapya application will find out on the Apk format on the internet, also, you can install the Zapya from Google Play Store, and on iOS from App Store.
Zapya is the best tool that allows you to transfer large files very quickly than other apps. Simply, you can navigate to Google Play Store on your Android device and search for Zapya and install it, then start sharing files between two devices. Also, on your iOS device navigate to your App Store and search for Zapya start installing it and share the files between two iOS devices.
How to Install And Setup Zapya on Windows 11 PC?
Simply navigate to the Zapya official website and get the Zapya Windows version from there. Once you are there click on Zapya PC to start downloading it.
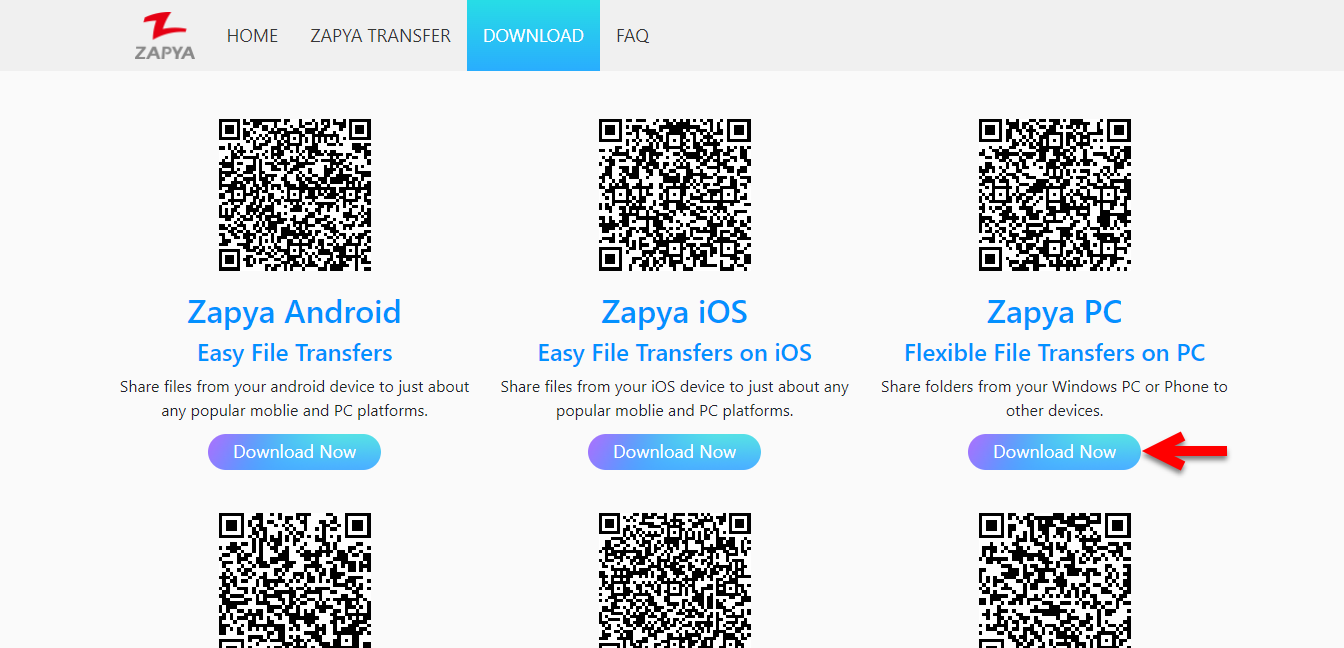
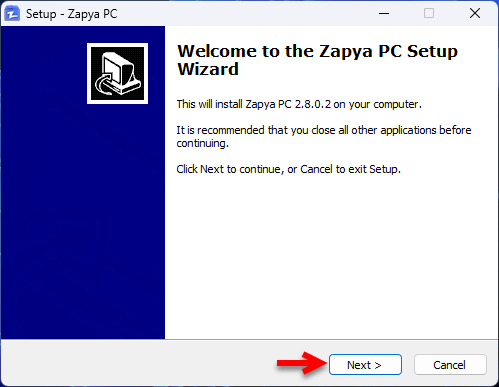
Once the Zapya is successfully downloaded, navigate to the download folder and launch the installation. On the welcome window hit the next option.
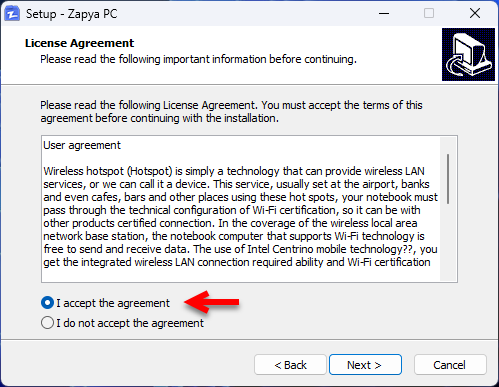
Agree with the terms and conditions of Zapya and click next.
Now you have to specify where you want to install the Zapya App and click next.
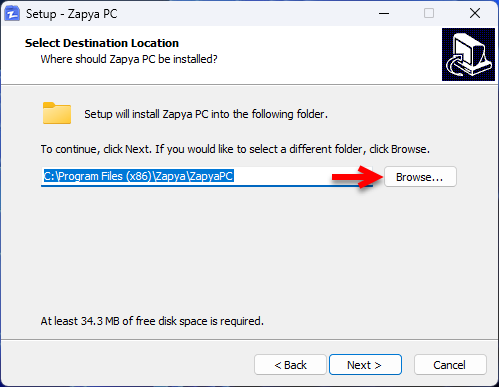
To continue, simply click next if you would like to choose a different folder simply click browse.
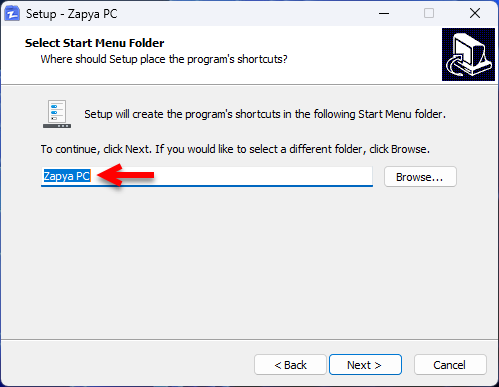
If you want to create a shortcut of Zapya on your desktop so check the box of shortcuts and click next.
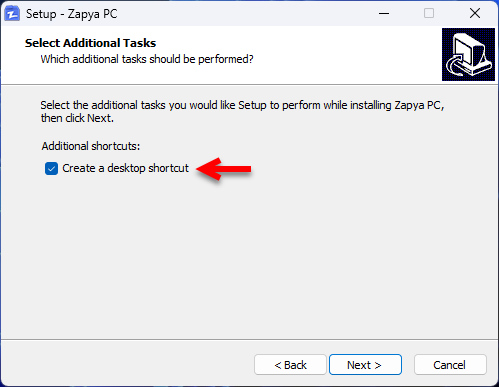
And finally, the Zapya is ready to install on your Windows PC, so simply hit the Install button.
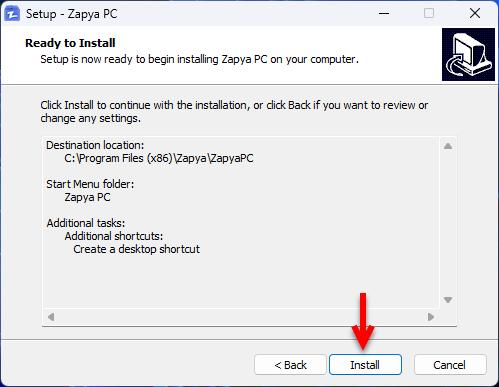
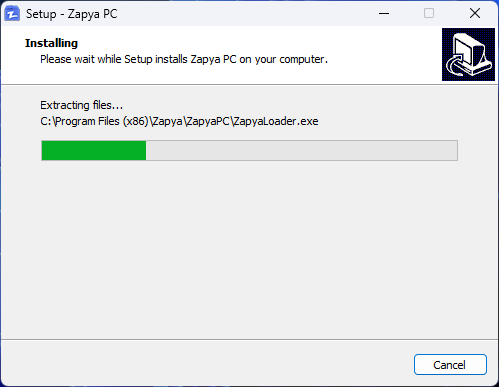
And wait for a few minutes until the Zapya should install on your Windows PC.
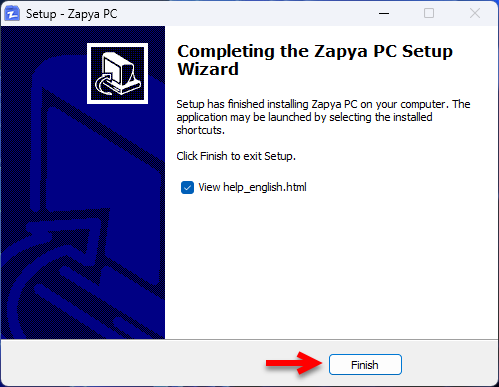
Once the installation of Zapya is completed click on Finish to close the installation wizard.
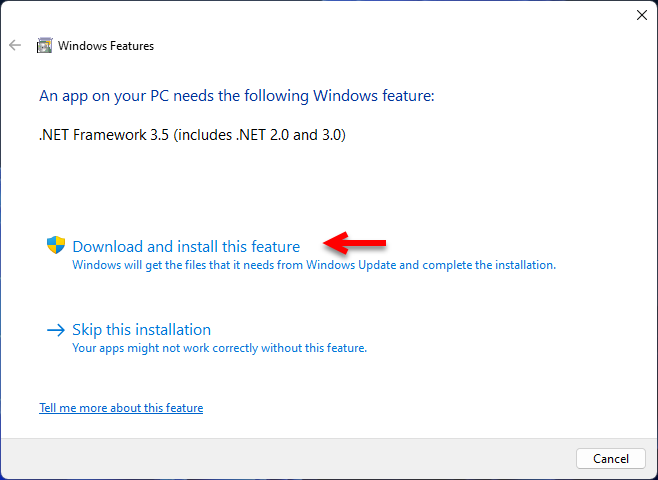
While the installation of Zapya is completed on your Windows PC, after opening the Zapya you need to install the NET Framework to enable the features of the Zapya App on your Windows PC. When the window opened simply click on Download and install these features.
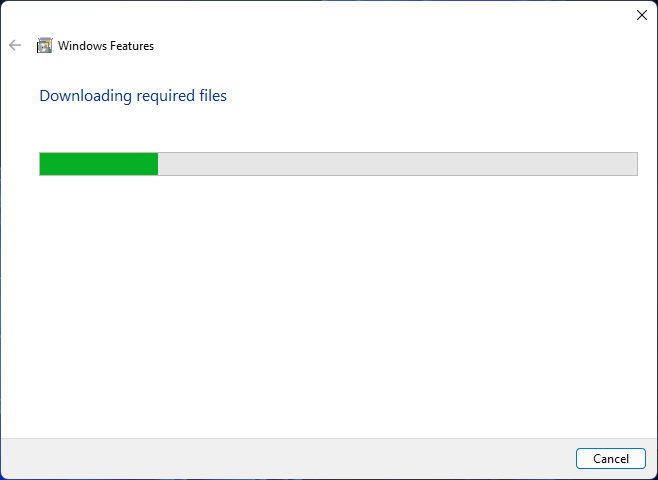
Now, wait until the NET Framework should be downloaded on your Windows PC. Don’t forget that the downloading process depends on your internet speed.
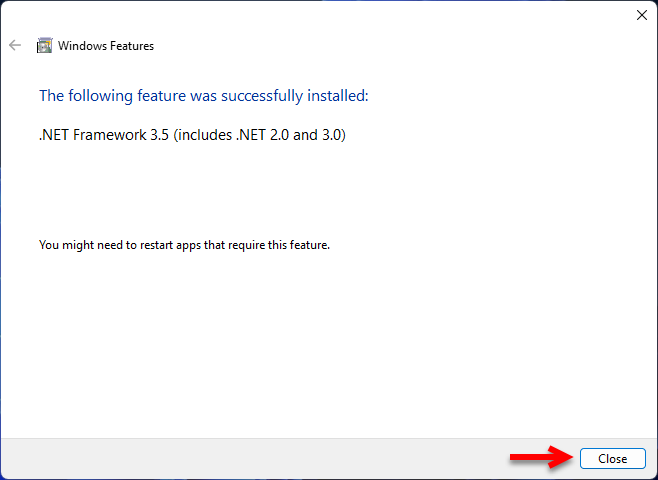
While the NET Framework is successfully installed on your Windows PC, simply click close.
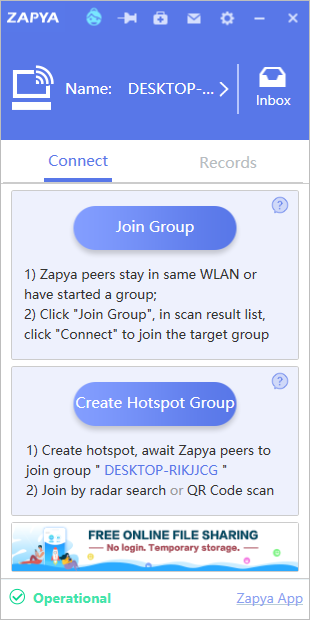
Once the Zapya Application is successfully installed on your Windows PC. So, you can see there, how to create Group, or how to Join the Zapya group.
Conclusion
Once Zapya is installed on your Windows PC. Simply you can open the Zapya create a group or Join a group using your Windows PC, or macOS. Now you will be able to share or transfer files from your mobile devices to your Windows, or macOS device wirelessly.
