Android OS is a mobile version operating system built and based on Linux Kernel and currently developed by Google. So, through this article, I will guide you on how to install Android on VMware on Windows PC. We have tested bundles of Android operating systems on Windows PC using Android Studio. Still, this guide will teach you the new method of installing Android x86 on VMware directly using the ISO image file.
What is Android x86? Android x86 is an open-source and free project officially known as “Patch hosting for Android x86 support”. It allows you to turn on the Android x86 operating system on your devices.
The latest Android x86 helps users and developers to install it on their Android devices, laptops, and computers for free. You can easily install the Android x86 on your Windows PC, whether it’s Windows 10/11. You can dig into details of Android x86 on your Windows PC with virtual machines.
Also, the Android x86 operating system allows the mobile Android Google to have the function on devices that are powered by AMD x86 / Intel processors than RISC-based ARM chips. The Android x86 is a solid alternative operating system that allows you to run on Linux-based machines.
You can use the Virtual Machines on your devices, to have full of access to any operating systems on your actual physical PC. Like you can install Android OS, macOS, Windows, Linux, and Ubuntu, on your actual PC with the help of Virtual machines. You can use Virtual machines like VMware Workstation Pro/Player, VirtualBox, Hyper-V, and VMware Fusion, to install another operating system on a single machine. With the same process, you can install Android x86 on VMware Workstation and VMware Player for free without any cost.
Related: How to Install Android on VirtualBox on Windows PC?
How to Install Android on VMware on Windows PC?
Step by step follow the screenshot guide, firstly you need to download the Android x86 ISO image file, then install the VMware Workstation Pro on your Windows PC. If you don’t know how to install the VMware Workstation on your Windows PC, then follow the below-down link.
For installing Android x86 on VMware on Windows PC, then you need to have the below down requirements too.
- Enable Virtualization technology on the BIOS
- Android x86 ISO image file
- Install VMware Workstation on your Windows PC
- Create a new virtual machine
- 4GM of RAM is recommended
- 10GB of disk space is recommended
- Disable the floppy disk
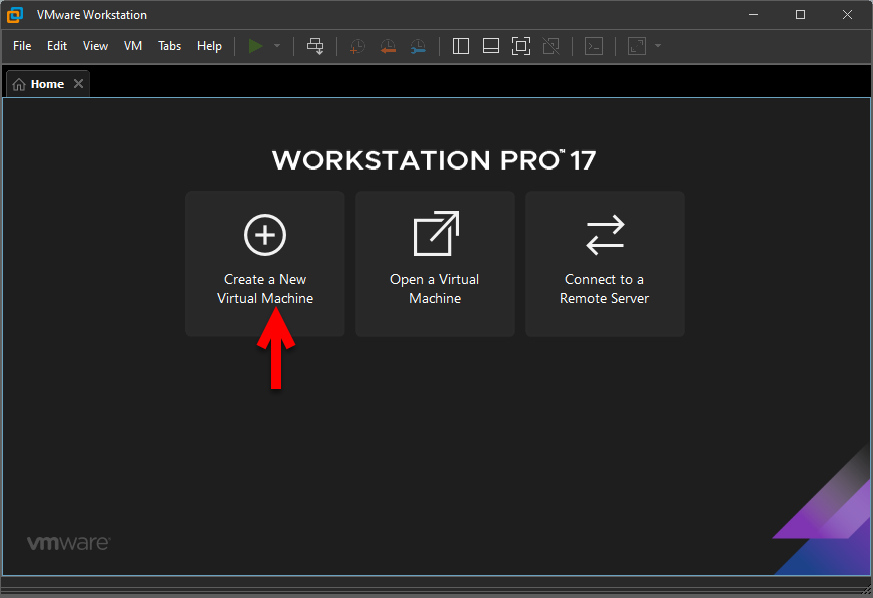
After that, you have completed the requirements you need to open up VMware and start creating a new virtual machine for Android x86.
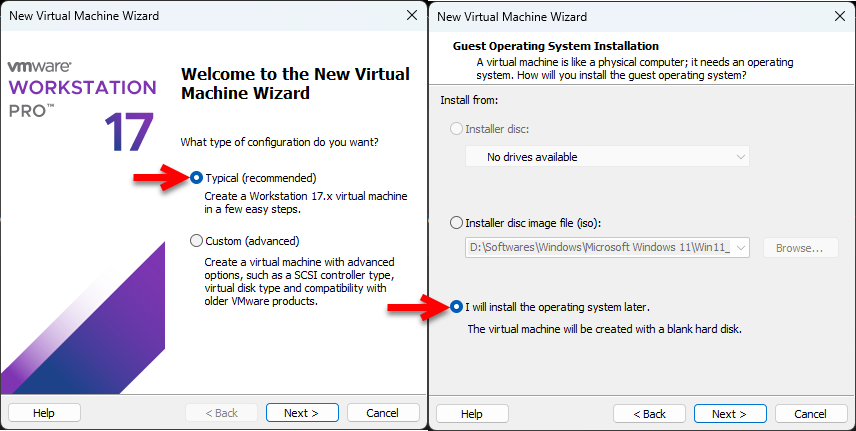
Select the Typcial recommended option and click next. Select the option I will install the operating system later and click next.
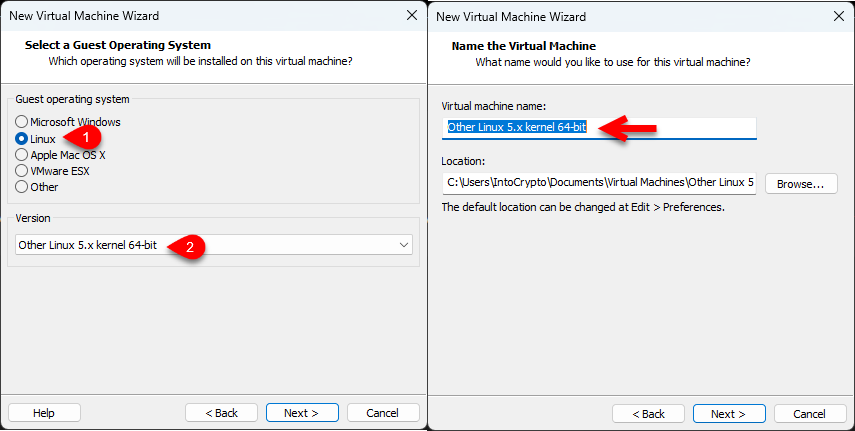
Choose the guest operating system, Linux, and version (Other Linux 5.x Kernel 64-Bit) and click next. Select the virtual machine name, specify the location, and click next.
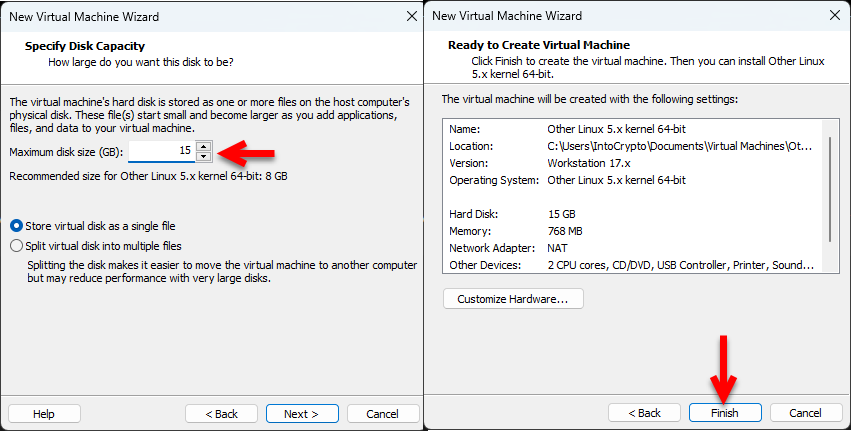
Select the option Store virtual disk as a single file, select the disk space size, and click next. Once you are in the last step there you have to click on finish to create the virtual machine.
Edit the Virtual Machine Settings
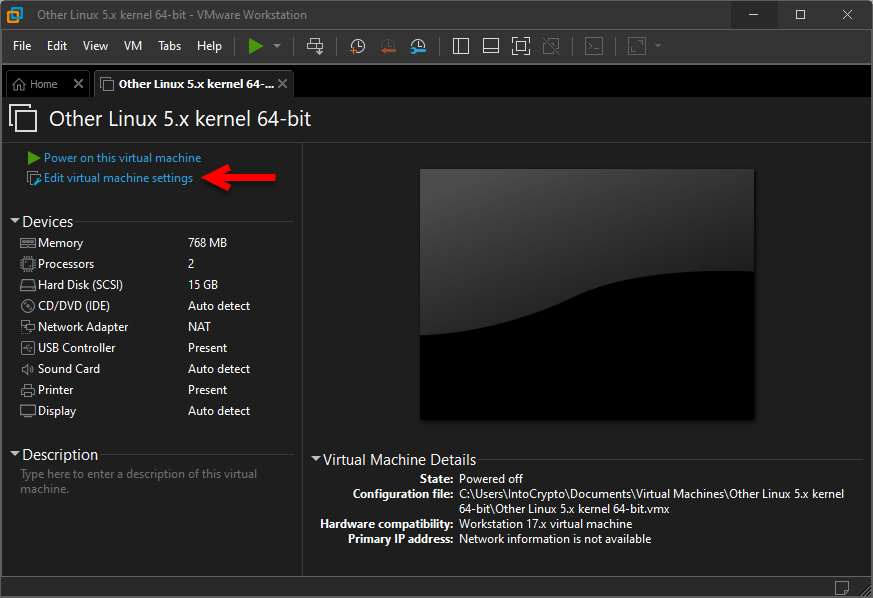
Once the virtual machine is successfully created, therefore, you have to edit some settings for the virtual machine. Simply, select the created virtual machine of Android and click on (Edit Virtual Machine Settings).
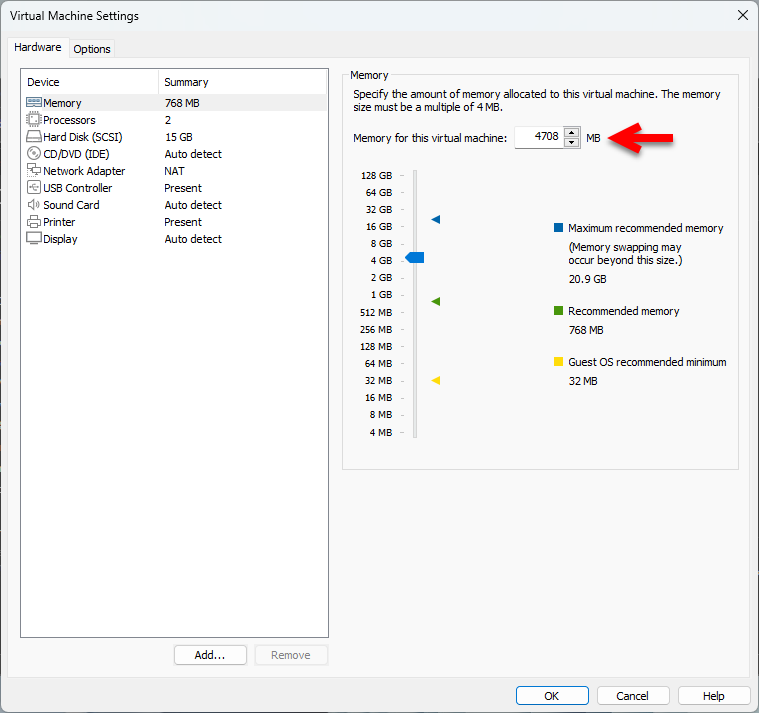
Once the virtual machine setting window opened, from the left-handed window side select the hardware>Memory, and increase the memory.
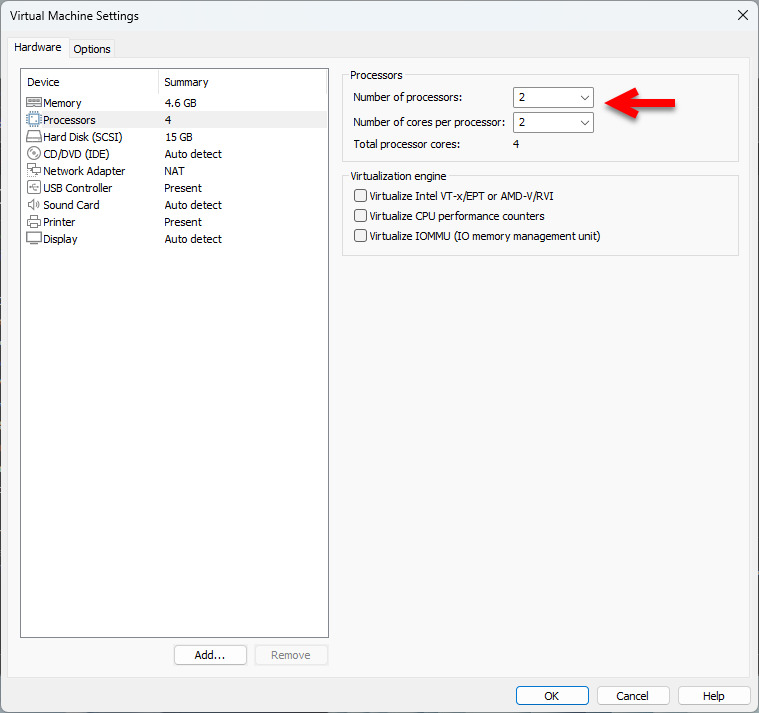
Select the processor tab, and increase the number of core processors.
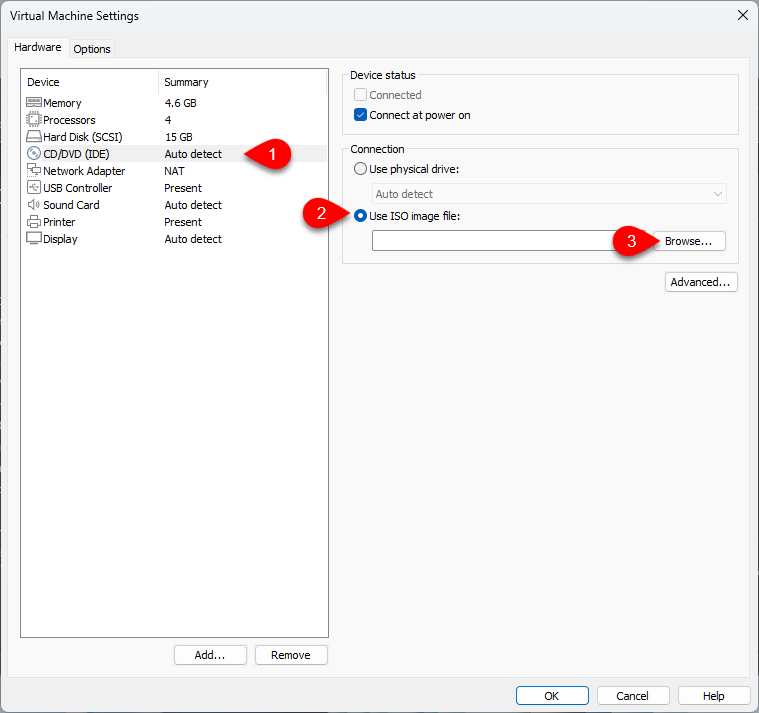
Choose the CD/DVD (IDE) tab, then click on (use an ISO image file) then click on the browse option.
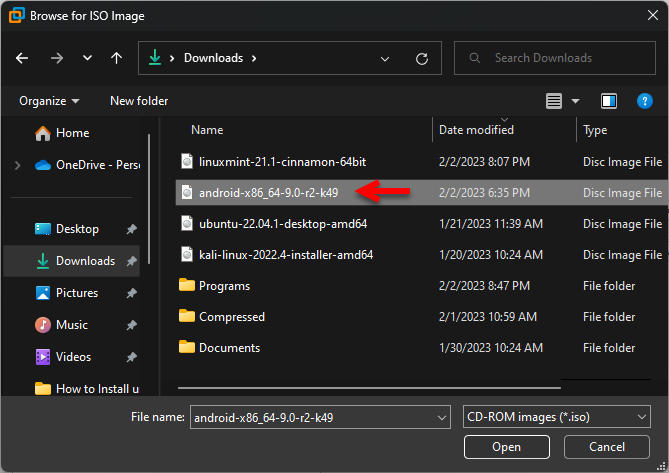
Now navigate to the place where you saved the Android ISO image file simply select the ISO file and click open.
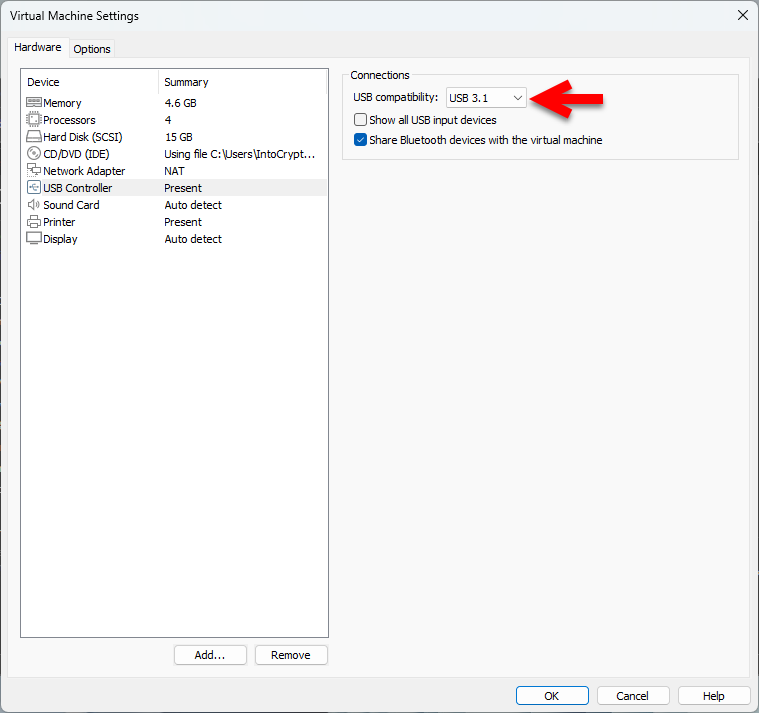
Choose the USB Controller tab and select USB 3.1, once you are done click on OK to save the changes.
Perform a Clean Installation of Android x86 on VMware on Windows PC
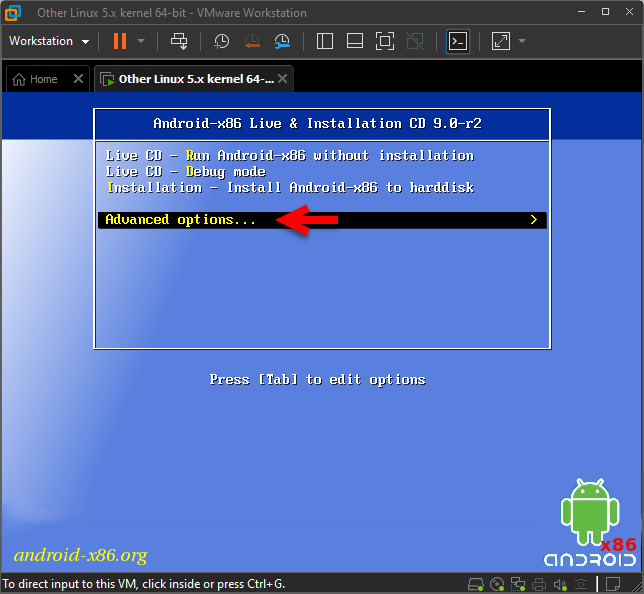
Once you have created a new latest virtual machine for Android on VMware and edited the settings for better performance then it’s time to install it. To install the Android x86 on VMware simply click on (Power on this virtual machine).

When the Android successfully launched the installation on the first window use your keyboard arrow down key and select the (Advanced options), then hit enter.
Again in this step select the (Auto installation – Auto install the specified harddisk) option and hit enter.

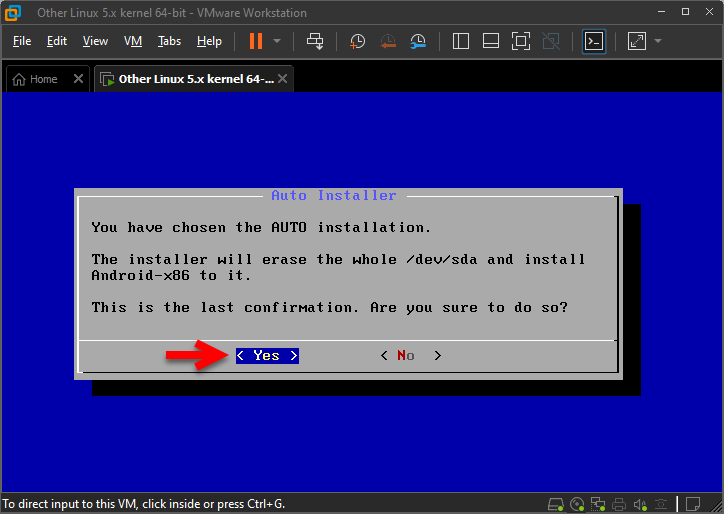
The installer will erase the whole /dev/sad and install Android x86 to it. To continue the installation of Android x86 on VMware select the yes option using your keyboard and hit enter.
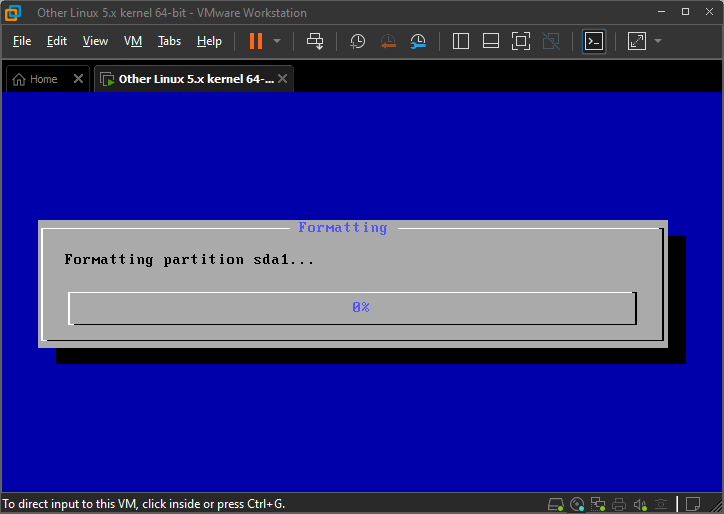
Now you will be able to format the disk, wait for it until should complete the formatting.
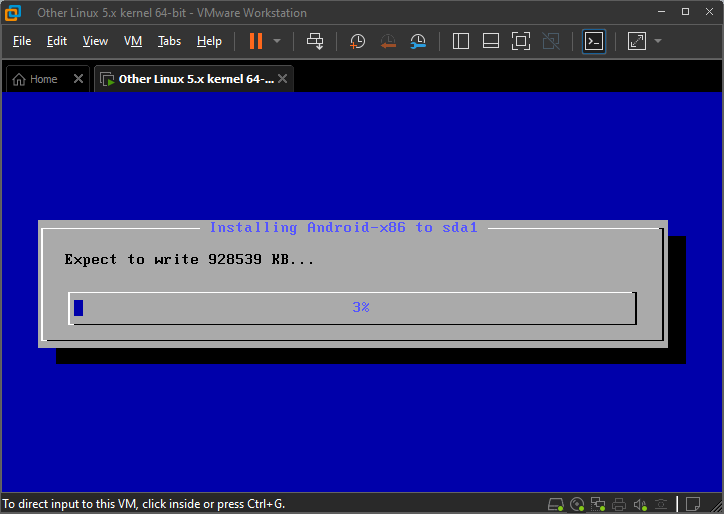
After the disk is formatted, the Android will start the installation, so the installation process may take some time to wait until it should be completed.
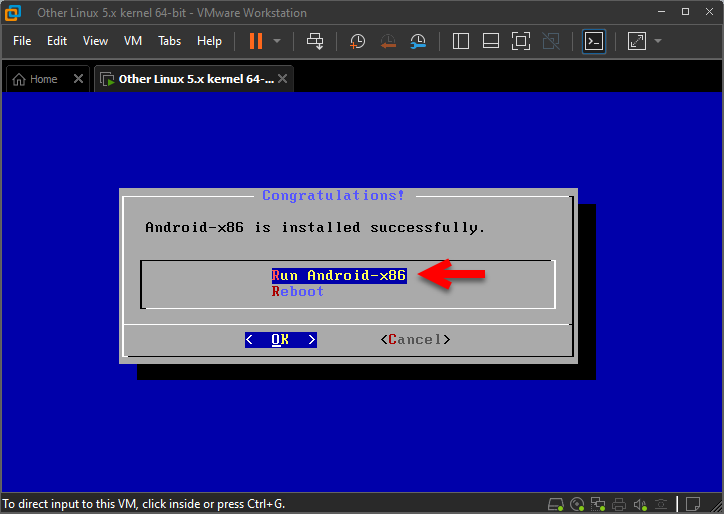
When the Android installation is successfully completed you will be asked to restart the virtual machine. So, there is no need to reboot that, simply select the option (Run-Android x86) and hit enter.
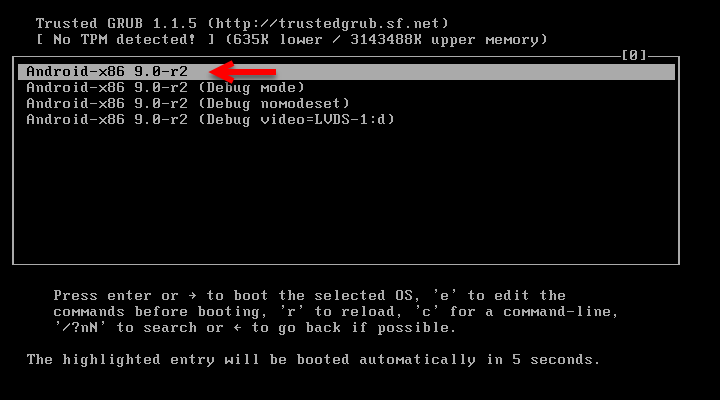
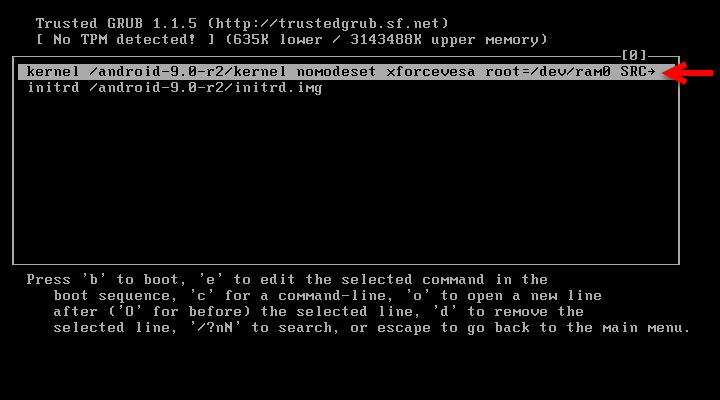
After the Android restarted successfully on the first window, select the Android -x86 9.0-r2 and press the (E) key.
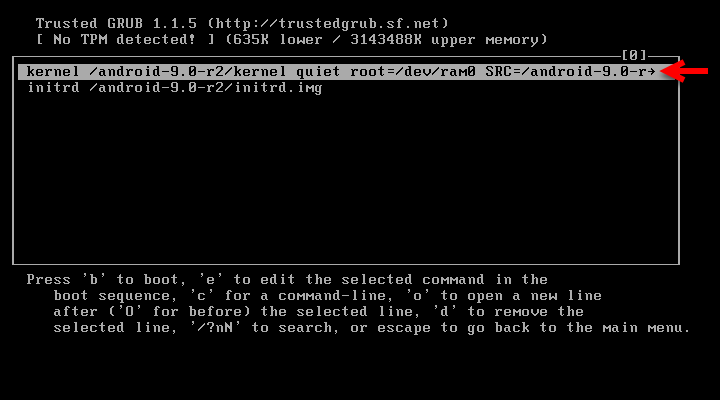
Select the first option (Kernel /Android-9.0-r2/kernel quiet roo=/dev/ram0 SRC=/android-9.0-r) and hit the again (E) key.
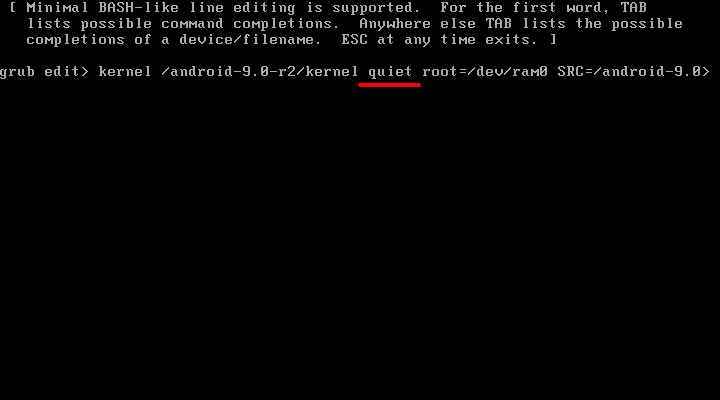
Now you have to edit the GRUB in this window to boot into Android, simply in this window remove the Quiet word using the keyboard.
And replace the Quiet word with the following commands (nomodeset xforcevesa) and press the enter key.
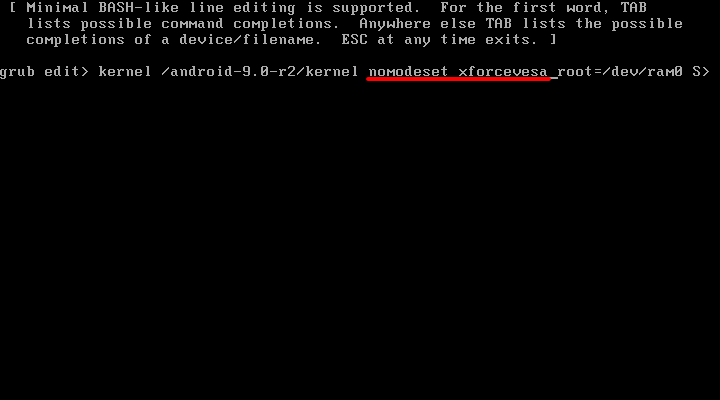
Select the (Kernel /android-9.0-r2/kernel nomodeset xforcevesa root=/dev/ram0 SRC) option and hit (B) on the keyboard to boot into Android.
After pressing the boot button you will be able to see the below down screen wait for it for a few moments.
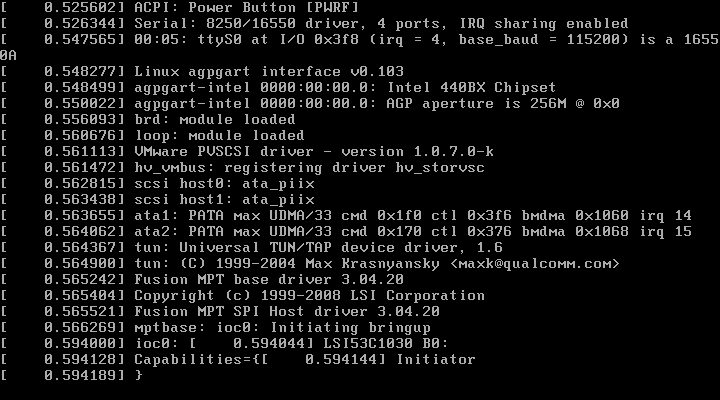
And finally, the Android is successfully booted, wait here for a few moments until the configuration window should appear.

Complete the Basic Settings for Android
Now on the first window, you have to select your Android language and click next.

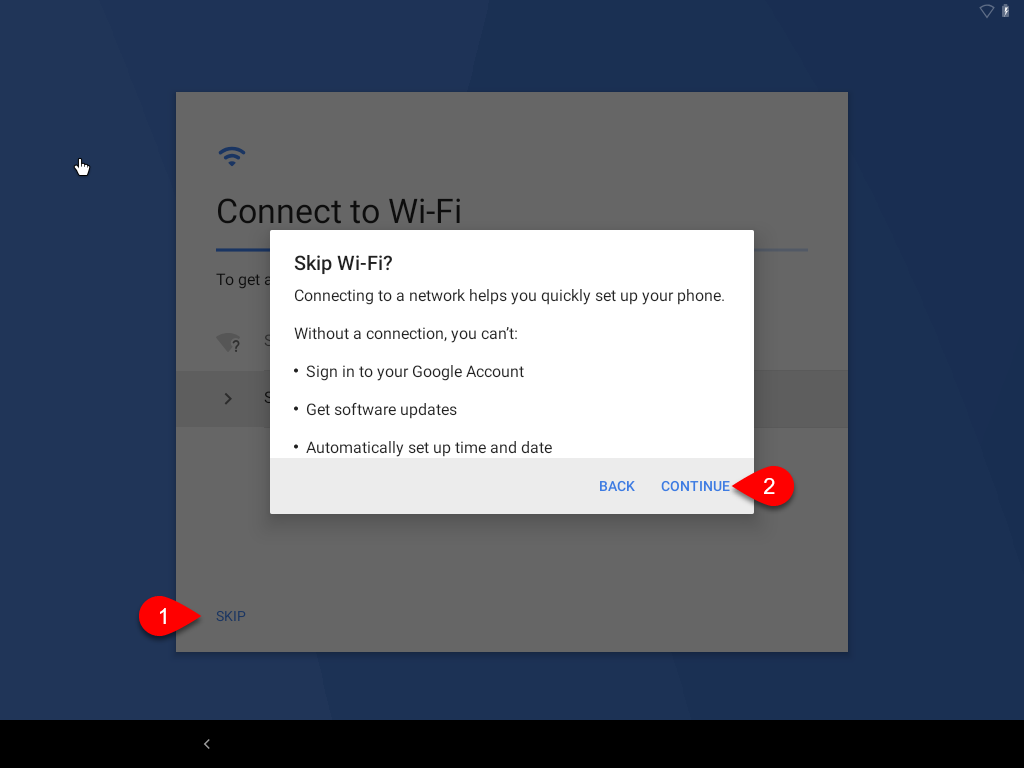
You will be asked to connect the Android with a Wifi network, so simply click on the Skip button and click continue.
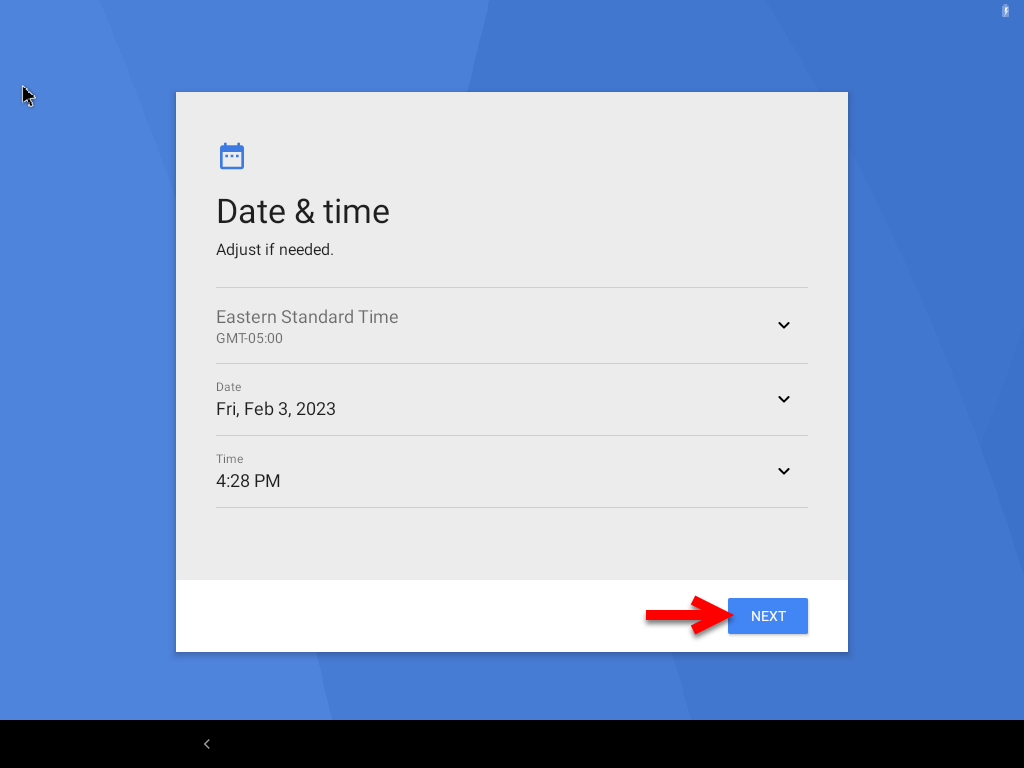
Set the date and time for Android and click next.
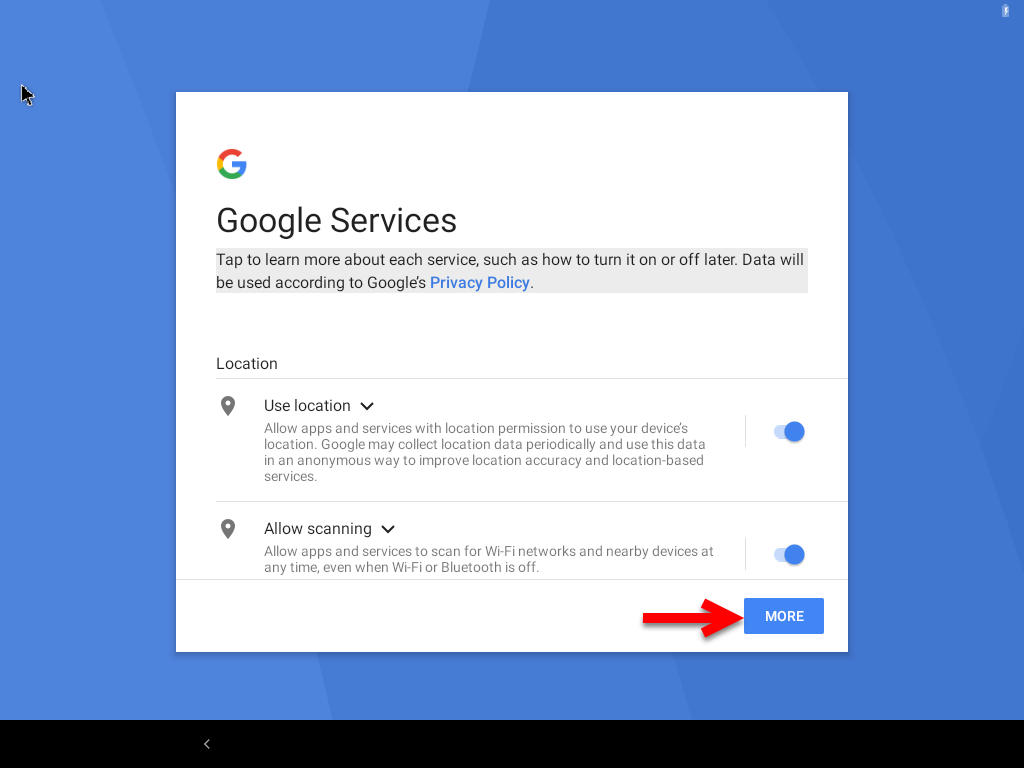
On the Google services window, simply click on more options.
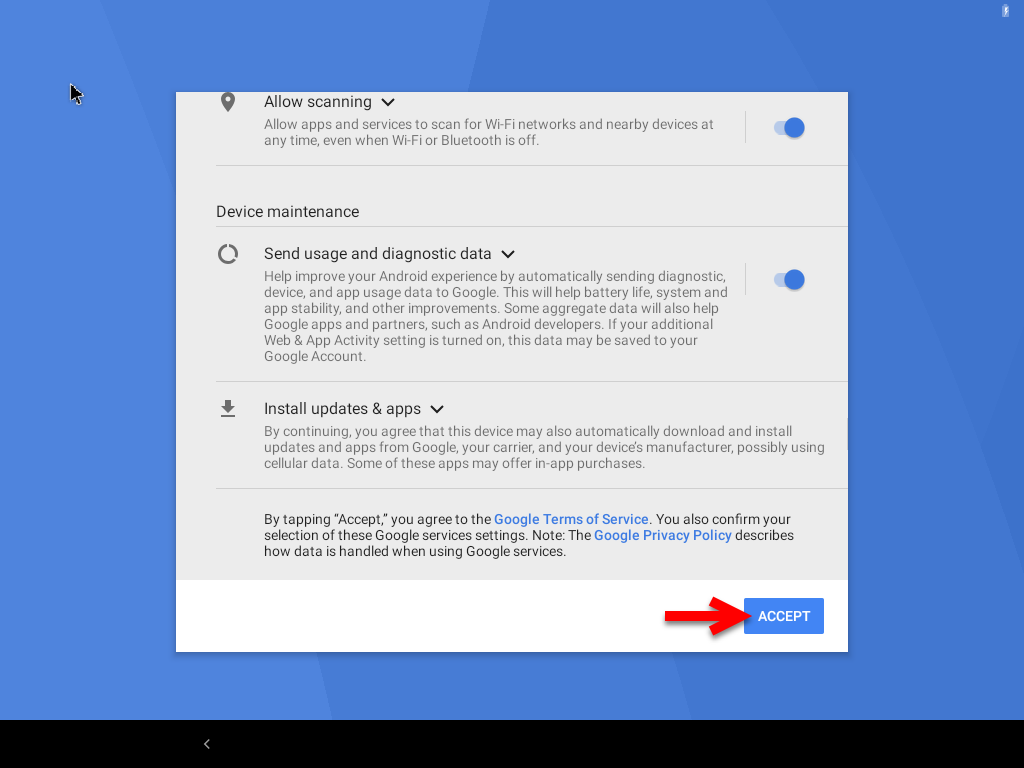
Accept the terms and services of Google and click accept.
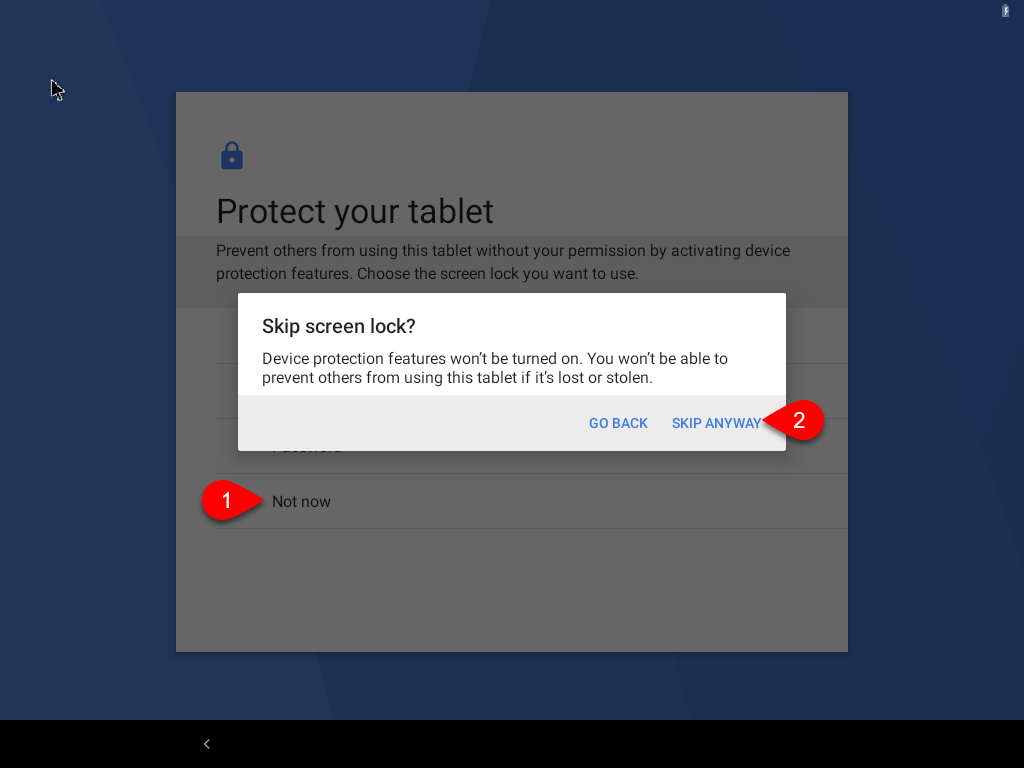
If you want to set any password or PIN for android simply enter it, or if you don’t want simply click on Not now and click skip anyway.
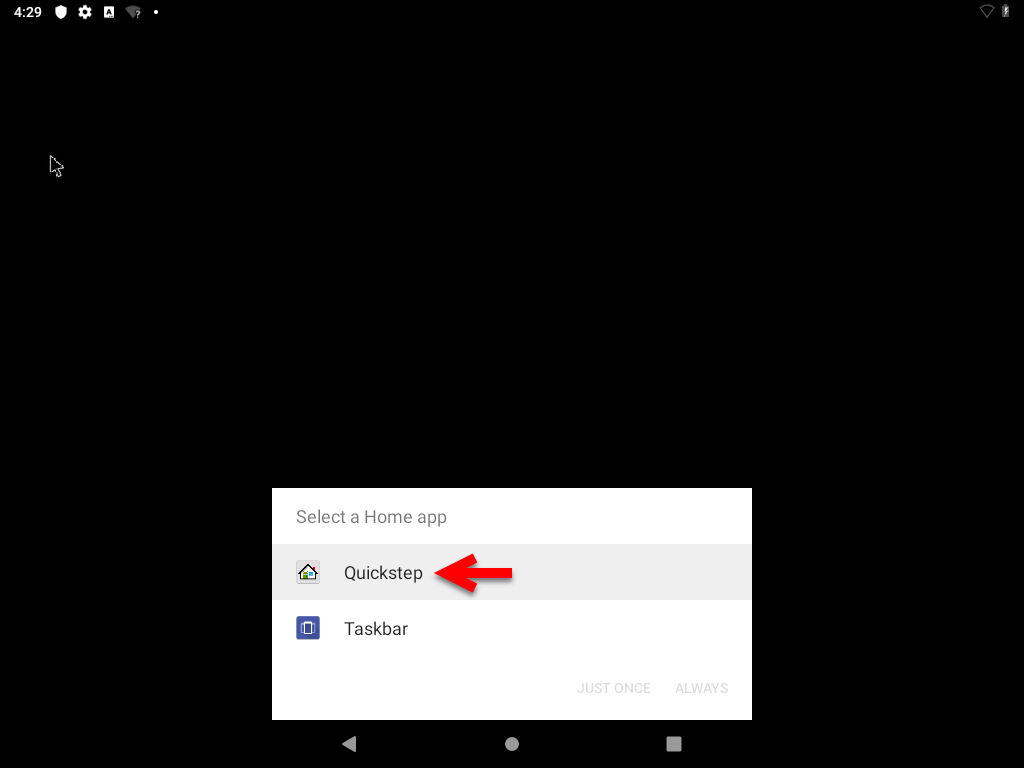
Click on quick setup to set up the Android for you for the first use.
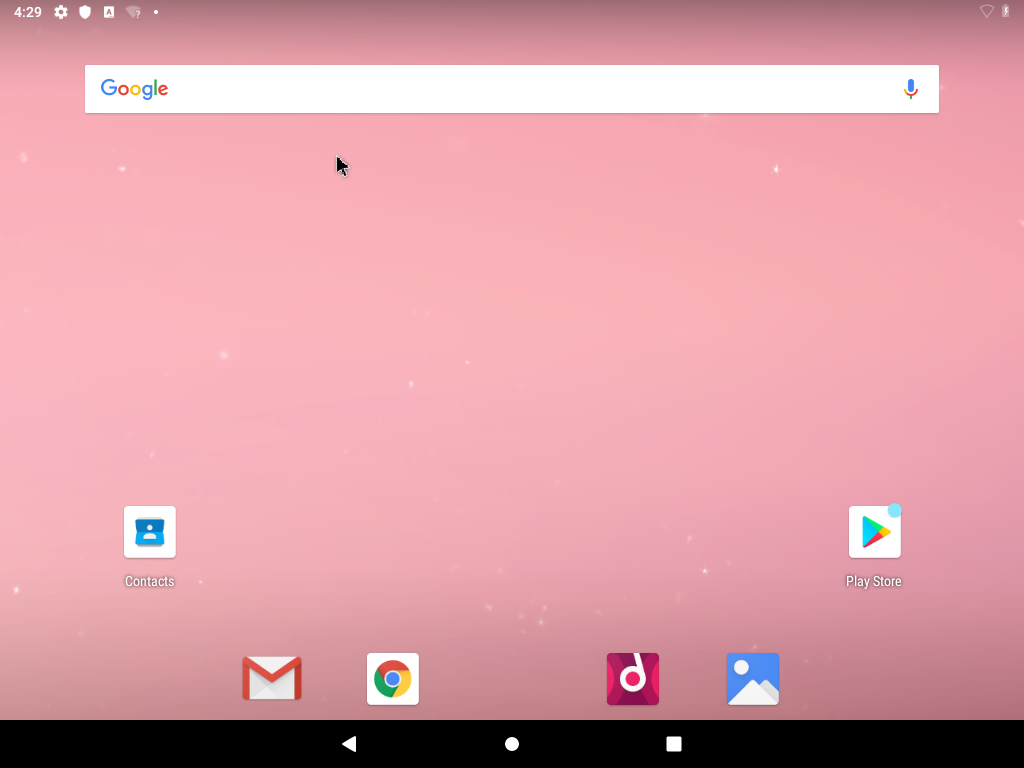
And finally, here it is the Android x86 is successfully installed on VMware on Windows PC, without any problem.
Conclusion
Android x86 successfully installed on VMware on Windows without any issues or errors. You can use the Android x86 as a tablet mode on VMware on Windows PC. So, there is nothing to do further because you have installed the full setup of the Android x86 operating system on VMware on a Windows PC.


2 Comments