VMware Workstation Pro 17 is the latest version of VMware.inc, VMware Workstation Pro is one of the most advanced virtualization technology platforms and hypervisors in use today. It allows people and computer tech users to include several operating systems on one machine at the same time on a single physical machine. VMware Workstation Pro 17 has advanced features that make the tech enthusiastic to have lots of access to the different guest OS.
When you install VMware Workstation on Windows PC or macOS, then it makes you independent to run several operating systems. Each operating system that you run on a single physical machine doesn’t need any hardware and support. VMware Workstation is a great software for running different kinds of operating systems on a single physical machine.
Like when you are installing VMware Workstation on Windows 11, or Windows 10 PC. The power uses to create multiple virtual machines inside one computer on VMware, to run Windows, macOS, and Linux operating systems. Without requirements of separate computers.
VMware Workstation Pro 17 is not free, but it’s affordable to find out the free version on the internet. There are two separate versions of VMware, one is VMware Workstation and VMware Player. If you want to purchase the VMware Player from its official website. Then you have to pay for VMware Player, $149, and for upgrading $79. Also, if you want to buy the VMware Workstation Pro 17 you have to buy $199, and for upgrading $99.
How to Install VMware Workstation Pro 17 on Windows 11?
VMware Workstation needs that the host machine has virtualization enabled. Most computers and laptops have these features on their BIOS menu, but sometimes it’s disabled in the BIOS menu. For enabling the Virtualization Technology in the BIOS menu you have to reboot your computer or laptop, then press and hold up the BIOS menu key then enable the Virtualization Technology option there. Make changes in the BIOS menu then reboot your computer to make changes.
Once you enabled the Virtualization Technology simply open up the computer and start installing the VMware workstation Pro 17. As I have downloaded the VMware Workstation Pro 17 from a Russian website which is a completely free version, so there is no need to purchase it. You can get the free version from the below downlink.
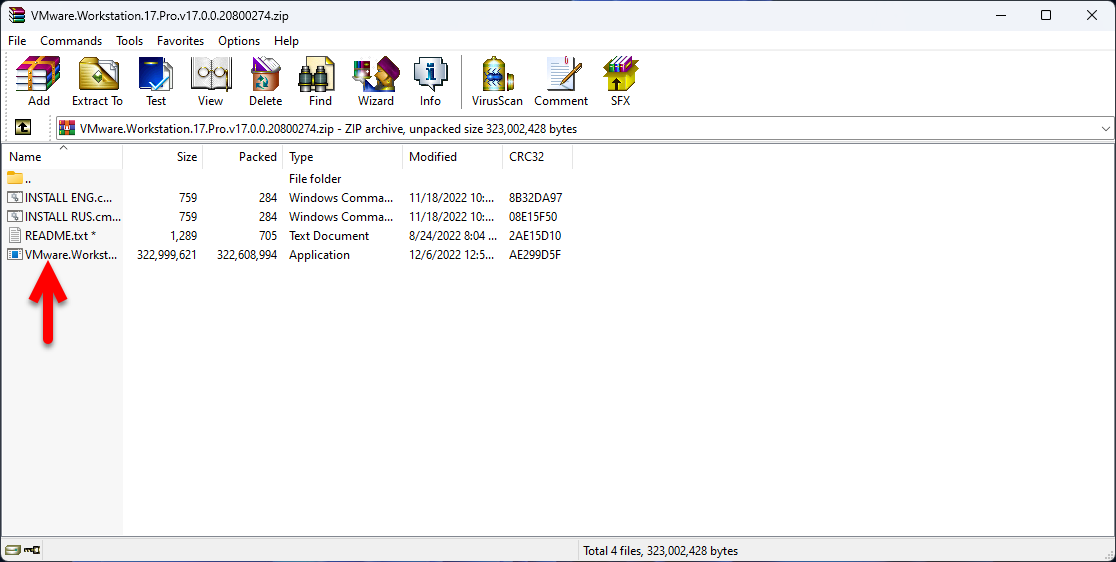
After downloading the VMware Workstation double click to open the VMware Workstation with WinRAR. Once it opened simply double-click to launch the installation.
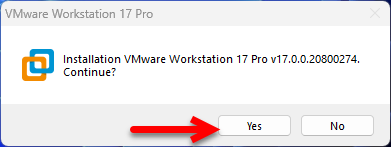
 Once the installation is launched for the installation confirmation simply click on the Yes option.
 Now, wait until the installation file should be unpacked.
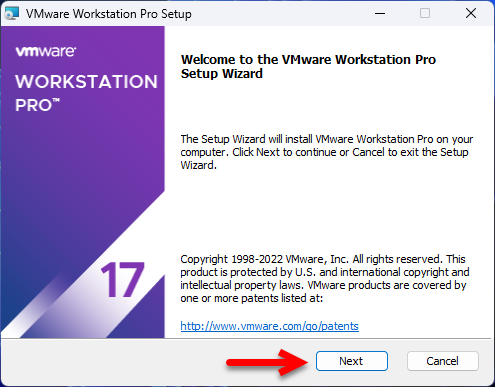
 While the installation wizard opened click on the next option.
 Accept the terms and conditions of VMware Workstation Pro 17 and click on the Next option.
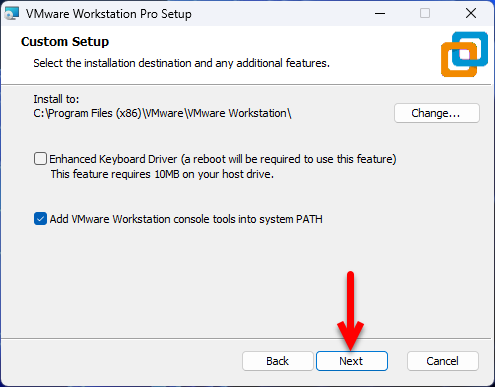
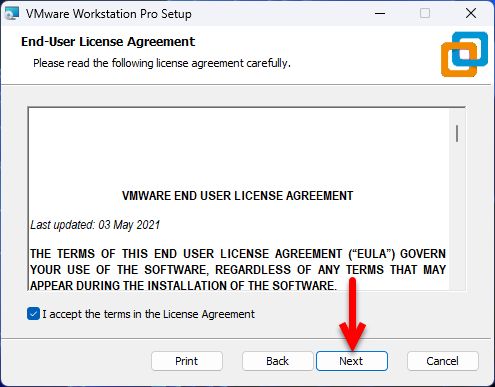 Check the box (Add VMware Workstation Console Tools into System path) then click on the next option.
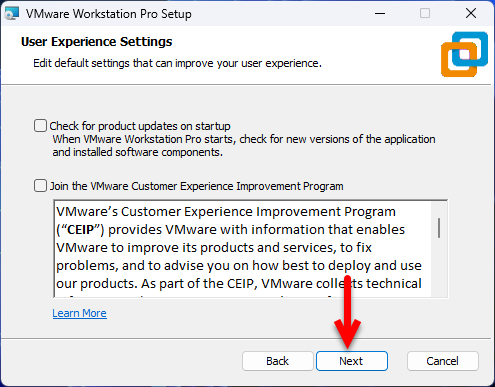
 On the user experience settings window simply click on the next option.
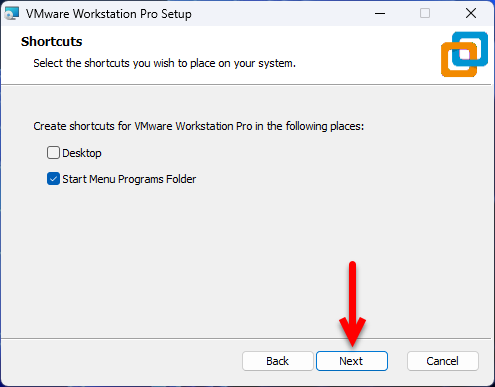
 In this window, if you want to create the shortcut of VMware Workstation on your simply check the boxes if not then leave it as default and click next.
And right now the VMware Workstation is perfectly ready for installation simply click on the Install button. The installation process will take a few minutes.
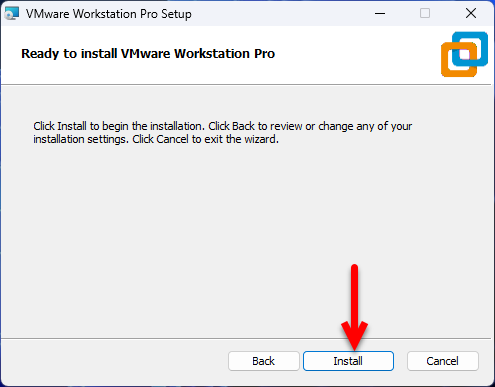
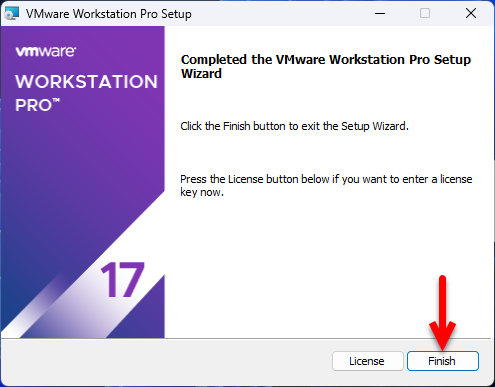
When the installation successfully completed simply click on the Finish option.
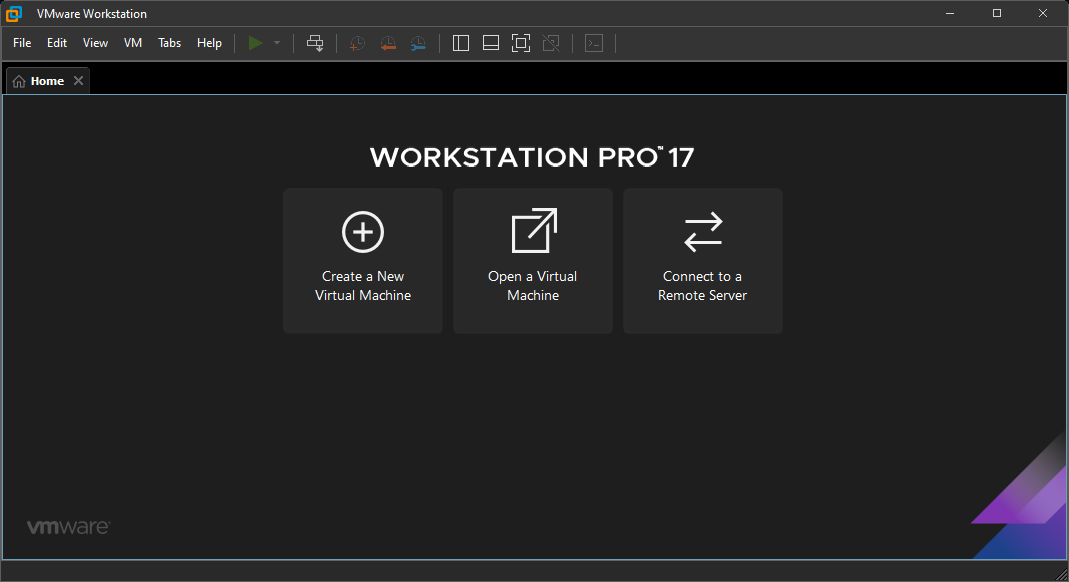
Now go to the start menu and search for VMware Workstation Pro and open it.
 Also Read:
Conclusion
So, once the VMware Workstation Pro 17 is successfully installed then you have to open it and start creating a Virtual machine. The virtual machine creation process is pretty much easy, for any guest OS, simply click on Create a New Virtual Machine. Also, if you want to get the free version of VMware Workstation simply send us an email through our contact form.

15 Comments